Have you got amazing pictures that you want to publish? Read This article carefully as it poses that the 6 parameters to consider account and the little drawbacks in order to avoid as a way to be guaranteed a superior photo printing.
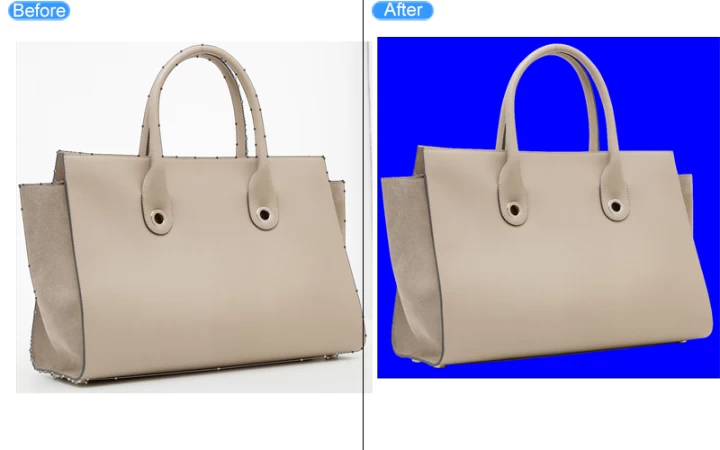
Except for taking in JPEG and possess your own pictures published Directly without moving right through the box (and all over again, you will observe below that there may still be cubes ), the path to a good and gorgeous photograph printing may - to be sowed with drawbacks. Read the following few lines to make certain that you do not overlook out the parameters that will need to get your picture for printing.We area unit a picture background removal service provider and that we offer image piece of writing services everywhere since 2007. we provide to get rid of the background from photograph &, background amendment at an occasional price.
The following article Is Similar to the next Portion of an Earlier article that Shows each of the advantages that the photographer could have to print or have his own photos published. So in the event that you haven't read it, a small catch up is imperative.
The Area of photograph printing Is Similar to everything elseit Obeys standards or rather rules of superior practice. If you don't desire to have to update your prints per next time, make certain that you took under consideration the subsequent 5 tips...
1. The structure of this image
The very first trap in order to avoid will be for this framing. It is something that I view virtually every afternoon: graphics shot up randomly whatever the specifications that govern their structure. The best way todo in cases like this in order for the picture fills the full-frame or against a faculty?
Therefore, in case You Would like to make a draw, you have to Remain in a Standard picture format. And also a standard image format, it obeys a width-height ratio. I will not show here all the formats which you can get because all it's already been the subject of a write-up.
Everything you Also Have to Be Aware of Is that the Option of the arrangement Will inevitably is motivated by one of the two next components:
The detector
Two detector formats now depended in the marketplace:
The arrangement 4/3.This is the streamlined, bridges and also some celebrities like Olympus and Panasonic.
The 3/2 format.It is A reflex and some hybrids like Sony and Fuji.
If there are two sensor formats, that there are two Paper sizes. So, when you've taken care of one's framing during the shooting and you want to publish the full picture recorded, you are going to need to pick paper format 3/2 or 4/3 depending on the kind of sensor from the digicam.
Sorry for its inhabitants of the Gorgeous province however do Not understand the North American standards, I did not put any such thing... But when somebody can transmit them to me, I'm going to be happy to put them into the table (that really is said ).
The support
The next element which will help you Choose the Best paper Size is also, clearly, the arrangement of this support (framework, counter collage, picture frame, photo album, etc...). Come, I will do it a third time: they also stick to standards.
Look closely at the dining table and also compare it with this of Paper sizes. You will discover that some standards do not need their equal in a frame (eg 13x19cm, 15 × 2-3 cm and 20 × 27 cm). This means that if, for example, you Own a bridge (4/3 format) and You've located a Gorgeous framework format 20 × Thirty cm (3/2 format), so you Are Going to Have to Choose from one of those three following options:
Change the paper size (eg change from 20 × Thirty cm to 20 × 27 Cm ). Thus, you're good to abandon the lovely framework in the store.
Verify the publish in the format. The photo will probably be Cut rather than published in its entirety. This choice is known as the whole paper as the entire outside of the photographic paper is used for printing. Within this instance, operate fast buy the framework before it is not any longer available.
Support the full image of this document. In Cases like This, you can find Be horizontal or vertical white bands on either side of the picture (it's going to be dependent on its orientation). This option is known as the full picture. In the event you go for this solution, I suggest choosing a margin print. You will possess as a sort of all-white move all around the photograph (it's going to be less ugly compared to rings only on the edges). Within this circumstance, also, you sometimes choose the setting...
Read on my post on Different Kinds of picture formats to find out The best way to change the ratio of a photo.
2. The size of the image
The size of a picture is about the Variety of pixels it Contains. The more pixels, the greater the size. And greater its own size, the longer it will allow massive prints.
Make Sure You Begin by getting selected the highest dimensions that Your own APN has the capability to give you. Remember that the principle of who is able to do it at the minimum. A huge image can be lessened or cropped without visible consequences (given you abide by certain regulations as you may notice beneath ). Conversely, in case you'd like to earn a poster with an optimized picture to get printing in 10 × 1-5 cm, it's obvious that there'll not be enough pixels to make sure a print that is high quality. Consequence: the film is going to be fuzzy. Obviously, we can add pixels but it is not as clear as taking away it. The quality is going to be impacted inside this case also.
At the same way, if you scan your photos, Be Certain to choose A scanning resolution high enough to deal with prospective requirements and avoid needing to do this again sometime later... (see next point)
3. The print settlement
The resolution of a picture corresponds to the density of Pixels per unit span. The Anglo Saxon system requires, we'll converse in inches. There's one number to keep in mind: 300 PPI (for pixel each inch in French,'' 300 PPP for pixel per inch). It is indeed the best frequency of pixels that an image meant for printing must-have.
A little caveat: Lots of Men and Women utilize the term DPI (dot per inch ) to accommodate that the resolution of a digital picture. It's actually a misuse of speech which I do quite routinely, I confess. The pixels/inch maybe your resolution on the monitor, the dots/inch is that the resolution into the publish.
Whether there are not enough pixels each inch (so reduced resolution), then The picture isn't defined and its pixels will soon be visible when published.
If there are too many pixels per inch (High Definition ), then it Doesn't add value in conditions of quality also it unnecessarily increases the burden of the picture.
It Might Be, however, that in order to produce very Huge prints, Your picture does not have sufficient pixels to allow this resolution (and keep in mind, I said earlier in the day this was not a fantastic concept to include pixels). Within this case, it is not so serious as we must not shed sight of the large draw that resembles a sure distance. The absence of pixels is invisible (it is related to the ability of separation of the eye ). Within this case, you may manage to proceed under the famous 300 PPI. For example, a print of forty × 60 cm is not going to be a problem in 200 PPI.
Other important advice: Whenever you prepare a picture from An APN and it is intended for printing, also it of necessity affects its own resolution. Simply take the examination. Simply take a JPEG photo by means of your camera and start it with your own favorite picture editor. Check out his resolution. What should you find? It's likely that it really is 72 PPI, which is insufficient for an image print caliber. And why 72 and maybe not 70 or even 75? Only because the resolution of the displays is 72 PPI. finally should rather mention was at 72 PPI due to the fact this rule is no longer really a given that the latest screens possess a lot higher resolution than approaches now that of newspaper (by way of example, displays retina from Apple are at 226 PPI).
To publish an image, you will probably have no alternative but to increase its resolution.
Some will Most Likely Be tempted to answer me: I never touched the resolution of my images and for that, I have prints nickel!
Sure, it's absolutely true, but in case you did not Alter that Resolution, it really is because someone made it happen to get you personally. And this someone will be the laboratory in which you countered your eyeglasses (or the printer driver of this printer).
I Am Not Going to develop here how to Alter the dimensions and Resolution of the image, as that way too, it has already been presented in a separate guide.
I return to this next point…